 Image Display Panel (IDP)
In which images are displayed in sequence (a la slideshow). This "Simple" model is a simplified version of the iDP Tutor (used in SL) and has been tested in the ReactionGrid OpenSim.
General Description
Instructional content is presented as a series of images, with text captions providing instruction to accompany each image.
Images are displayed in sequence, their progress advanced or reversed by touching at the lower corners of the object. The panel can be deleted by touching the upper right corner.
The script uses one of a new set of functions that detects the precise location on the surface that has been touched. On touch, the script evaluates the touch-location and compares it to various sets of x/y values. If the touch was within a hot-spot, the particular function assigned to that spot is executed.
The object is easily loaded with images; then, the new images become part of the slideshow by resetting the script [Right-click the panel and select "Edit..."; then select Menu > Tools > "Reset* all scripts in selection"].
* OpenSim: "Recompile Scripts in Selection"
Features
- A flat box-shaped prim useful as slide presentation tool.
- A single script manages the behaviour, allowing object's owner to set privileges for controlling images, and deleting panel
- The panel can be locked by changing the first variable in the script. So this:
integer locked = 0;
becomes this:
integer locked = 1;
Directions:
Click on this link, iDP_Simple.html and Copy/Paste the script into a new script in OpenSim. Then, assemble the panel as described below.
- Create a new prim; Box type with with dimensions X = 2.0m ; Y = 0.1m ; Z = 1.5m
- Modify prim
- Assign Blank texture to entire prim (should appear white at this stage)
- Assign Black to all sides
- Select "Select Texture" in the Object tab; assign White to Side 1
(Side 1 faces South in a non-rotated box prim, and has the tail-end of the green arrow sticking out)
- Also assign Full Bright to the Side 1 (checkbox in Texture tab)
- Drag your images from Inventory into the Content tab of the prim
- Drag your in-world copy of the iDP Simple script into the Content tab of the prim (script should reset automatically; if the display does not show your first image, reset the script manually)
- Change the name of the prim to something catchy, like "iDP Tutor by Azwaldo Villota!", and take into Inventory
- Rez the iDP panel. (Notice you still have the original in Inventory; deleting this newly rezzed panel is a click away)
Here is an image template (.jpg file) that could be imported into a graphics application to assist in making instructional images; using this template is not necessary, it simply ensures your arrows and delete button are in precise locations. (Click to open full-sized image.)

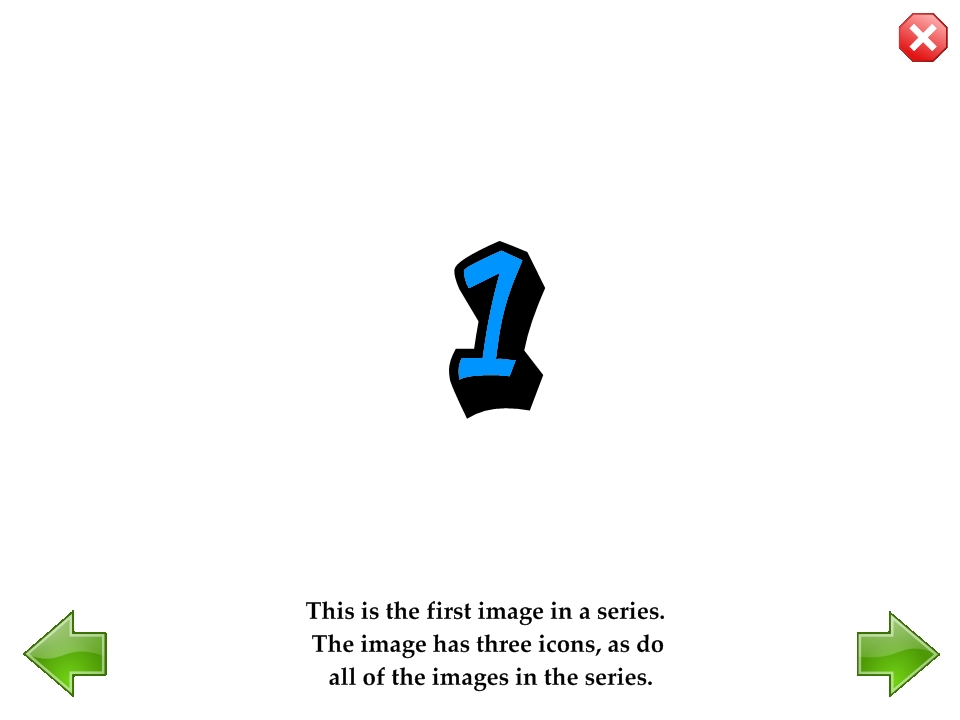
These three .jpg files could be used to test your panel.


Home | Links | Sandbox | Template | Notes
PBWiki Editing | PBWiki Manual


Comments (0)
You don't have permission to comment on this page.